Grout is a material used to fill the gaps between tiles. It comes in different colors and textures. There are two main types of grout: sanded and unsanded. Both have their own advantages and disadvantages.
According to the report of the National Tile Contractors Association, sanded grout has a finer texture and is less likely to chip or crack. It is also easier to clean than the unsanded grout.
But it doesn’t mean that unsanded grout is no good. It is more resistant to staining, and it can be used with glass or mosaic tiles. So it is very difficult to understand which grout you should use?
That’s why you need to read this article. Because in this article I have shared the difference between sanded and unsanded grout. It includes every information which requires to make your decision.
Also, I have covered a step-by-step guide to applying sanded and unsanded grout on the tiles. So it’s going to be a very interesting guide.
Let’s Get Started!
Table of Contents
What Is Grout & What Does It Use For?
Grout is a type of mortar that is used to fill the gaps between tiles or other masonry units. It is a mixture of cement, sand, and water. That will protect the tiles from water and other debris.
However, grout is also a popular material for many other applications. It can be used as a sealant, an adhesive, or even a sculpting medium. But the major downside to grout is that it is difficult to work with and it can be quite messy.
It requires a lot of time and patience to get the desired results. Also, you need to be careful not to get the grout on your clothes or skin, because it can be quite difficult to remove.
But despite these drawbacks, grout is a very versatile material that can be used for a variety of applications. And when it is done correctly, it can add a lot of beauty and functionality to your home. Also, it will increase the lifespan of your tiles, which is definitely a plus.
It is usually available in two types: sanded and unsanded. That is important for you to understand. That I have explained below!
Sanded Grout: Explained
Sanded Grout contains sand, which gives it more of a gritty texture. This makes it easier to grout together tiles of different sizes, as the sand will help to fill in the gaps. Additionally, it makes the grout more durable and less likely to crack.
However, using sanded grout can also be more difficult to clean, as the sand can easily become embedded in the grout lines. Unsanded grout is a good option if you are looking for an easier to clean grout.
When mixed with water, sanded grout forms a paste that can be spread over the surface of the tile. So it becomes a good option for those looking to grout together tiles of different sizes. It can be used on walls or floors or in your kitchen, bathroom, and shower pan.
Pros
- Sanded grout can be applied at a lower cost.
- It this very thick so the joints are mostly likely denser.
- This can be found in a variety of colors and textures.
Cons
- You may face some scratches problem on the surface.
- It is required to use a water-based partnering sealer.
Un-Sanded Grout: Explained
Unsanded grout doesn’t contain any kind of sand or gritty material. It’s smooth, like regular cement. You might see unsanded grout referred to as “non-sanded,” “cement-based,” or “premixed” grout.
If you’re using unsanded grout for a thin line on tiles that are less than 1/8-inch thick, like mosaic tiles, unsanded grout is your best option. Also, glass tiles should only be grouted with unsanded grout.
Because unsanded grout is so smooth that will protect the glass from scratches. However, in some cases, it doesn’t require to use of sealing material with unsanded grout. But if you want then you can use it for better bonding and sealing.
Pros
- It can be used without any sealing material in some applications.
- This unsanded grout will protect the tile’s surface from being scratched.
- It looks much better and can be wiped out easily when needed.
Cons
- You need to pay more for using unsanded grout.
- You will only get a few color and texture options in this grout.
Difference Between Sanded and Unsanded Grout.
The main difference between sanded and unsanded grout is the former contains sand while the latter does not. This means that sanded grout is more course than unsanded, making it better suited for tile joint widths of 1/8 inches or greater.
Unsanded grout, on the other hand, is finer and ideal for thinner joints. Another difference between the two types of grout is that sanded grout is mixed with water while unsanded is mixed with latex.
When it comes to installation, sanded grout is generally easier to work with than unsanded since it is less sticky. Unsanded grout, on the other hand, can be more difficult to work with since it has a tendency to be more slippery.
However, unsanded grout is less likely to shrink and crack over time than its sanded counterpart. So, which type of grout should you use? That really depends on the application. If you are working with larger tile joints (1/8 inches or greater), then sanded grout is the way to go.
For smaller joints, unsanded grout is the best option. And if you are working with a material that is porous or prone to stainings, such as marble or limestone, then you will need to use unsanded grout.
Also, when it comes to the cost, un-sanded grout is generally more expensive than sanded. Because it can be used on a variety of surfaces but sanded grout can only use on ceramic tile.
How To Apply Sanded Or Un-Sanded Grout: Step By Step Process!
Applying grout is not a difficult task, but it can be time-consuming. The key to success is taking your time and being careful to avoid making any mistakes. Here is a step-by-step guide to help you apply grout like a pro:
1. Choose The Type Of Grout
Grout comes in two different types: sanded and unsanded. Sanded grout is ideal for areas that will experience a lot of foot traffic, such as floors.
Unsanded grout is better for areas that won’t experience as much wear and tear, such as walls. So first you need to decide which type of grout is right for your project.
2. Prepare The Area
Once you decide the type of grout to use, now it’s time to get ready for the application process. First, use a wet sponge or cloth to clean the surface of the area where you will be applying the grout.
Be sure to remove any dirt, dust, or other debris. Then, use a tape measure to determine the size of the area. This will help you calculate how much grout you will need to complete the job.
3. Mix The Grout
After you have gathered the necessary supplies, it’s time to mix the grout. If you are using a powder grout, simply follow the directions on the package. For a pre-mixed grout, you will need to add water to the desired consistency.
Be sure to mix the grout thoroughly to avoid any clumps. At last, use a putty knife to apply the grout.
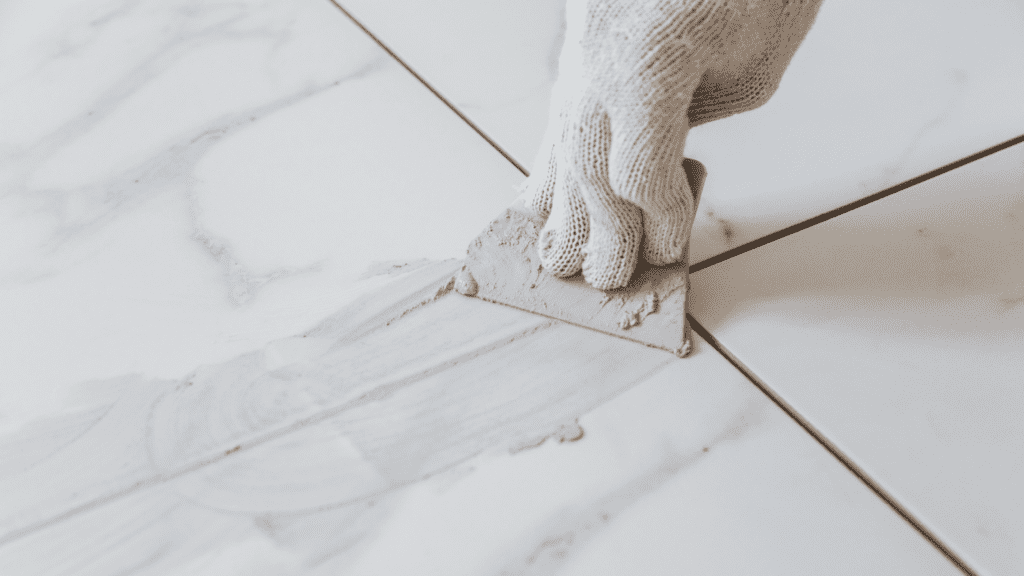
4. Apply The Grout
Now it’s time to apply the grout to the surface. Use a rubber float to apply the grout evenly across the surface of the tile. Be sure to work the grout into all of the joints and corners.
You can use a grout sponge to help remove any excess grout. It will take some time for the grout to set, so be patient.
6. Allow The Grout To Dry Completely
After the grout has been applied, you’ll need to allow it to dry completely. This can take several hours or even a day or two, depending on the temperature and humidity levels.
Once the grout is dry, you can use a soft cloth to buff away any haze that may have formed on the surface of the tile.
7. Seal The Grout (Optional)
Once the grout is completely dry, you may want to seal it to help protect it from stains and dirt. There are a variety of grout sealers available.
So be sure to choose one that is compatible with the type of grout you are using. Apply the sealer according to the manufacturer’s instructions.
8. Enjoy Your New Tile!
Now that the grout is applied and dried, you can enjoy your new tile! Be sure to clean the tile on a regular basis to keep it looking its best. Because regular maintenance is key to keeping tile looking great for years to come! Thanks for reading and good luck with your grout project.
Tips For Keeping Sanded and Unsanded Grout Looking Great
Whether you choose sanded or unsanded grout for your tile installation project, it is important to take care of it properly in order to keep it looking its best. Here are some tips for taking care of your grout:
- Seal Your Grout: this will help to prevent stains and make it easier to clean.
- Clean Your Grout Regularly: use a mild soap and water solution or a specifically designed grout cleaner. Avoid using harsh cleaners or scrubbing pads, as these can damage the grout.
- Remove Stains Promptly: if you do get a stain on your grout, try to remove it as soon as possible.
- Touch Up Areas That Are Starting To Wear: if you see areas of your grout that are beginning to look worn or faded, you can touch them up with a grout pen or marker.
By following these tips, you can keep your sanded and unsanded grout looking great for years to come.
The Benefits Of Using Grout On The Surface Of Your Home
When you are working on a home improvement project, one of the things that you may be considering is using grout. Grout is a material that is used to fill in the gaps between tiles. Here are some benefits of using it.
- Protect The Surface: The number one benefit of grout is that it can protect the surface that you are working on. When you are using grout, it will act as a barrier between the tile and the surface. This will keep the tile from chipping or cracking.
- Fill In The Gaps: Grout can also be used to fill in gaps. If you have tiles that are not level, grout can help to even them out. It can also be used to fill in any cracks or holes that may be in the tile.
- Prevent Water Damage: When you are using grout, it can also help to prevent water damage. If there are any gaps in the tile, water can seep through and cause damage to the surface below. By filling these gaps with grout, you can help to keep the surface dry and free from water damage.
- Make The Surface Look Better: Grout can also help to make the surface look better. If you have tiles that are chipped or cracked, grout can help to cover up these imperfections. This will give the surface a much smoother look.
Wrap Up On Difference Between Sanded & Un-Sanded Grout
So, which is the best option for you- sanded or unsanded grout? It depends on what you’re looking for in a grout. If you want something that will be easy to work with and give your tile a polished look, then go with sanded grout.
However, if you’re looking for a more subtle finish or have smaller tiles, unsanded grout may be a better choice. Whichever type of grout you choose, make sure to follow the instructions carefully so that you get the best results possible.
FAQ: 5 Major Differences Between Sanded and Unsanded Grout
Understanding the difference between sanded and unsanded grout is difficult. But it is important for getting the best results. So you should read these questions it will help you out.
Q1. How much does it cost to have sanded and unsanded grout?
Ans: It usually depends on the quality of the grout. Because the unsanded grout is more expensive than the sanded one. But on average, it costs about $16 per square foot to have sanded and unsanded grout.
Q2. Where I should not use the sanded and unsanded grout?
Ans: You should not use the sanded and unsanded grout in wet areas like the shower, kitchen, or bathroom because it will absorb more water and can cause mold or mildew.
Q3. Can you use unsanded grout on surfaces that will be walked on?
Ans: No, you should not use unsanded grout on surfaces that will be walked on because it is too soft and can be easily damaged.